Setting Up and Introduction to the CRUD Service
A CRUD service is a configurable application that allows users to perform Create, Read, Update, and Delete (CRUD) operations across various systems seamlessly. This service is system-agnostic, meaning it can interact with different target systems without requiring custom code for each integration.
Key features include:
- Configuration via YAML Files: Define the schema of the native system and the desired translated schema using YAML files. This enables seamless data transformation without extensive development effort.
- Support for Multiple System Types: Connect to diverse systems—including databases, SSH, REST, SCIM, and LDAP —through simple configurations, eliminating the need for custom connector coding.
- Pluggable Authorization Strategies: Choose from multiple authorization solutions like Amazon Cedar, EmpowerID and OPA to implement fine-grained, real-time authorization.
- Credential Management: Handle privileged accounts efficiently, with options such as per-command credentials, bringing your own credentials or PAM vault strategies for secure access management.
Prerequisites for CRUD Service
- Install Visual Studio Code
- Install Python
- Postman Extension in VS Code
How to Run the CRUD Service
-
Open Visual Studio Code.
-
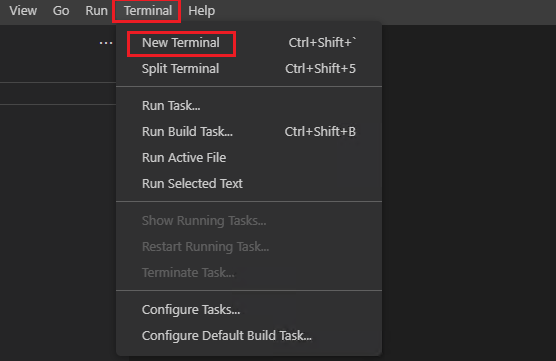
Navigate to the Terminal menu in the top toolbar. Click on New Terminal to open a new terminal window within Visual Studio Code.
-
In the terminal, change to the directory where you want to clone the repository. For example:
cd C:\Source\Repos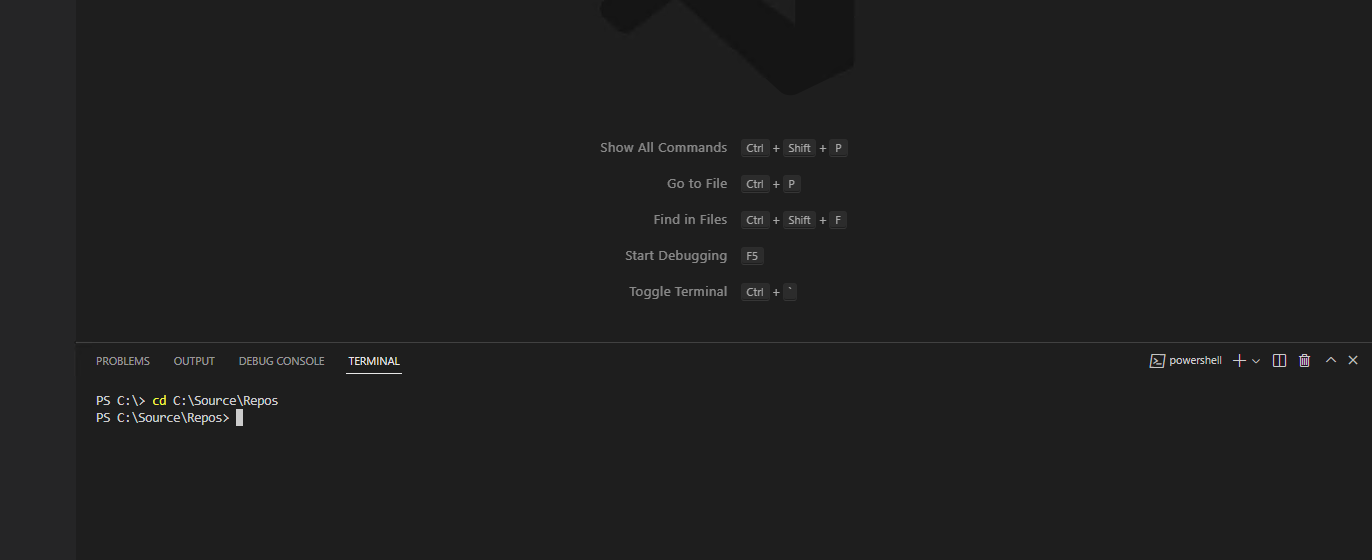 Alternatively, you can navigate to any preferred directory on your machine.
 -
Now, in your terminal, run the following Git command:
git clone https://dev.azure.com/empowerID/EID-AuxProducts/_git/CRUDService
-
If the repository has already been cloned to your machine, navigate to the C:\Source\Repos\CRUDService directory and run the following Git command:
git clone https://dev.azure.com/empowerID/EID-AuxProducts/_git/CRUDService
-
Run the following command in the terminal:
pip install -r .\requirements.txt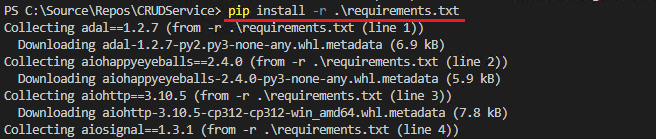 info
infoThe requirements.txt contains a comprehensive set of Python dependencies crucial for the functionality, security, and performance of your project. Managing these dependencies through a requirements.txt file ensures that the project can be consistently and reliably set up across different environments, facilitating collaboration and deployment.
-
To start the CRUD Service, run the following command in your terminal:
python -m src.main info
infoTo stop the CRUD Service, go to the terminal and press Ctrl + C.
-
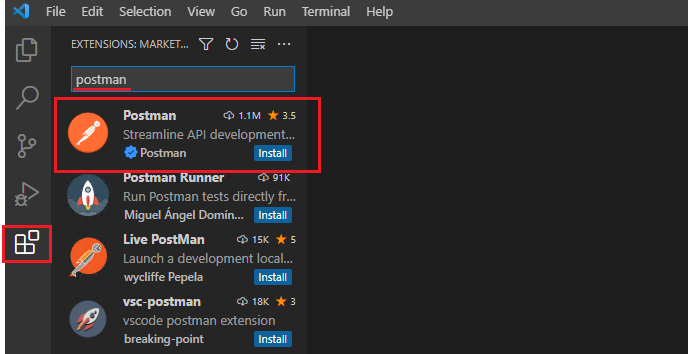
To install the Postman extension in Visual Studio Code, go to the Extensions view, type Python in the search box, and install the first result.
-
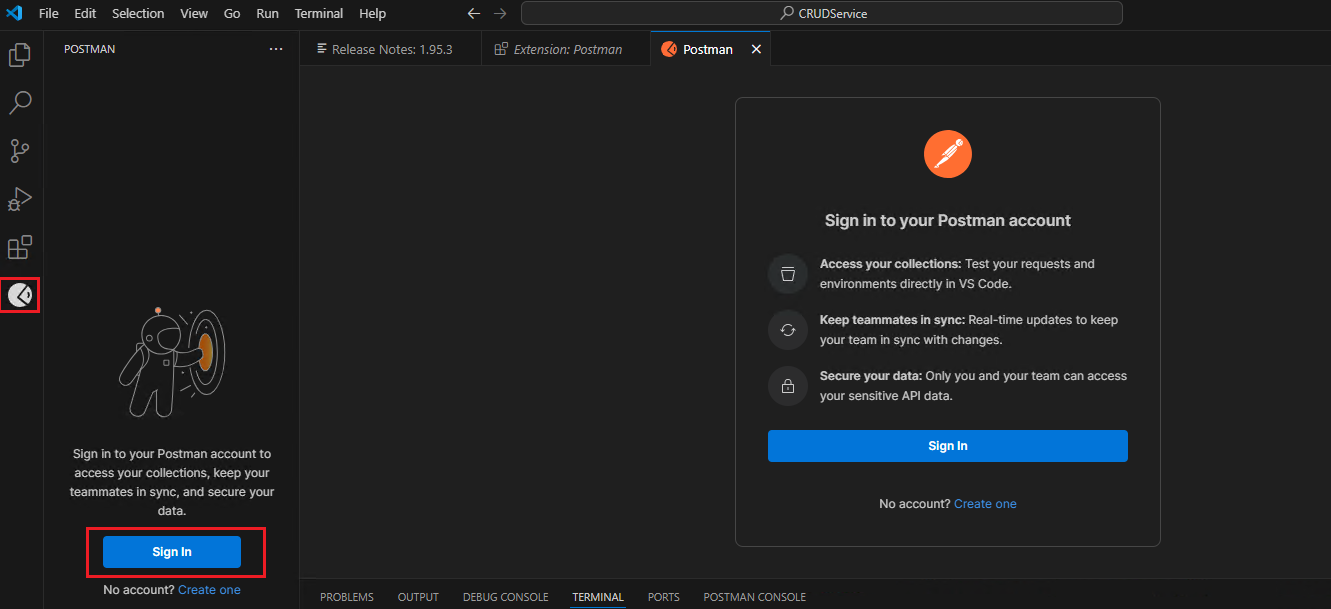
Once the Postman extension is installed, it will appear under the Extensions pane. Click on it to open, and then sign in.
-
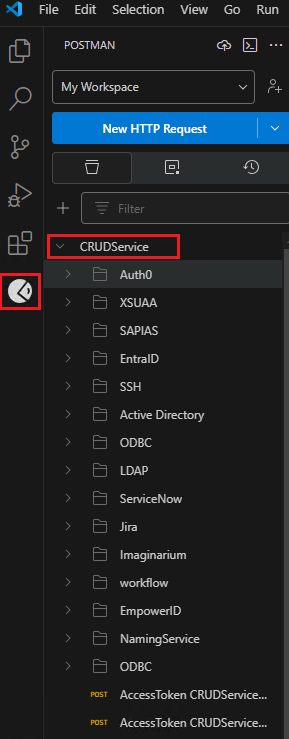
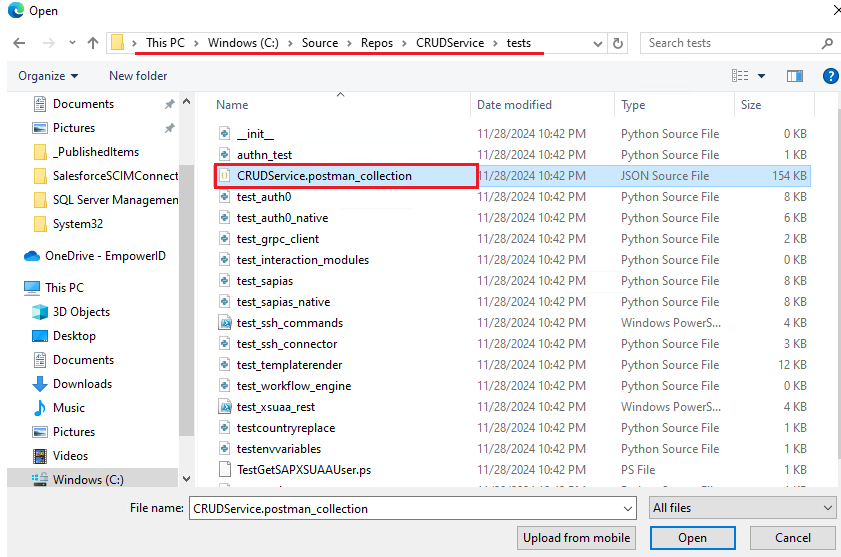
Once you are signed in to the Postman extension in VS Code, try to import the collection named CRUDService.postman_collection from the following path: C:\Source\Repos\CRUDService\tests. If the option to import the collection is not available within the Postman extension, log in to Postman on the web and import the collection from there. It will then appear in your VS Code.

- In Visual Studio Code, navigate to and select the Postman icon. Proceed to expand the CRUDService collection, allowing access to the subfolders and their corresponding Postman calls for each system.