Wizard Workflows Lab
- Create a form for the wizard.
- Create wizard workflow and Add forms.
- Publish the workflow into the EmpowerID environment.
- Test the Workflow.
Create a Form
-
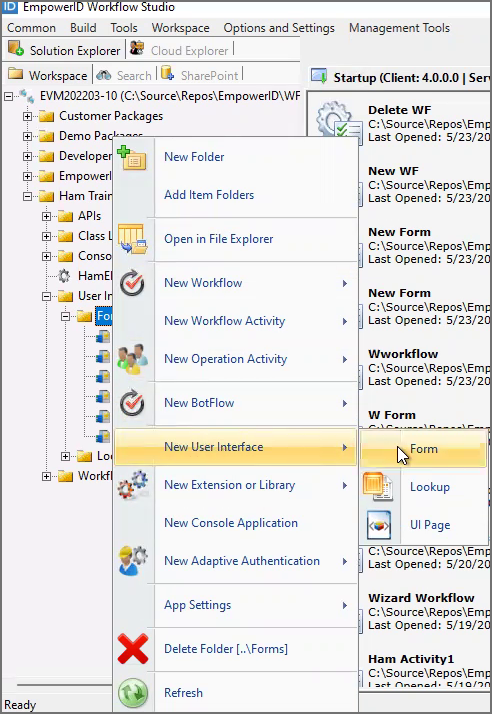
In the Workspace tree of Solution Explorer, right-click the Package node in which you want to create the form and select New User Interface > Form from the context menu.
-
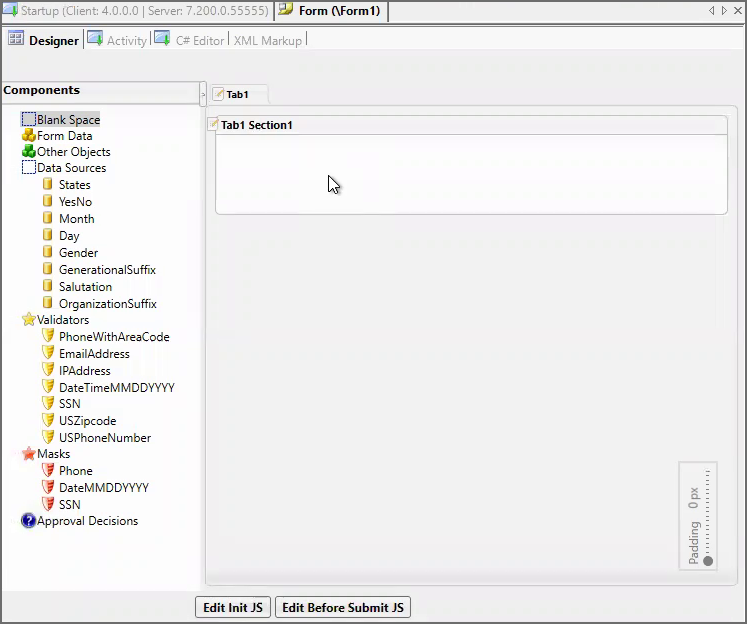
A form will appear in the workspace with a default name.
-
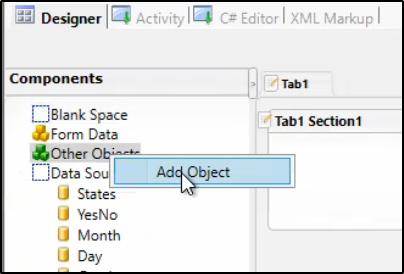
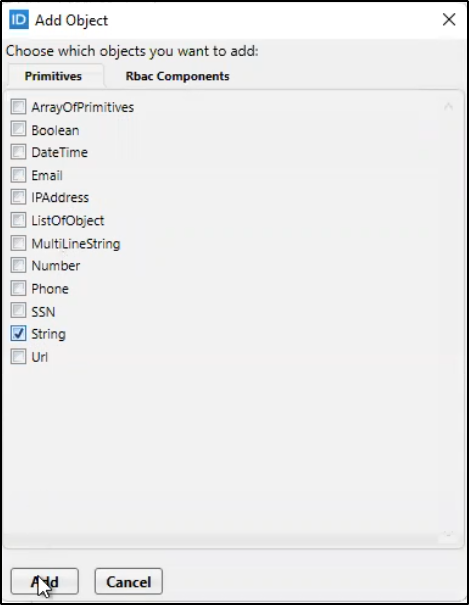
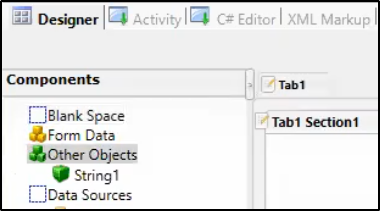
Let’s add some fields to the form. Click on the Other Objects → Add Object. In the Add Object window, select String and click on Add.
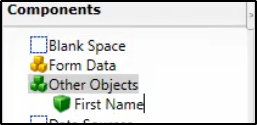
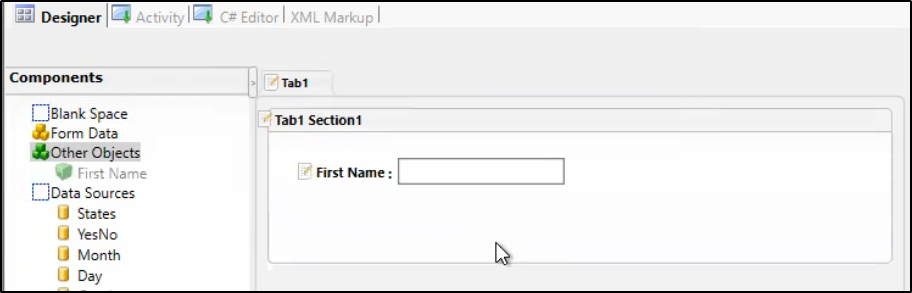
- Rename the object String1 to First Name, and drag and drop the object into the form.
-
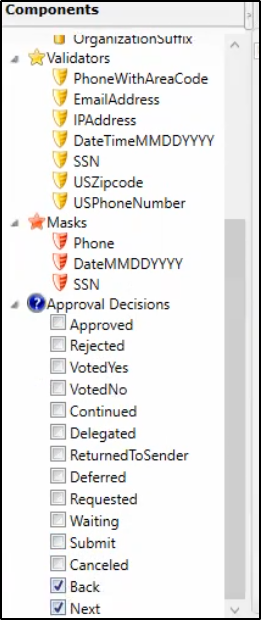
The Next & Back button must be enabled for a wizard. Expand the Approval Decisions and select the Back & Next Button.
-
Save the form with a meaningful name. You must click on the Save icon and select the file path. Provide a meaningful name and click on save.
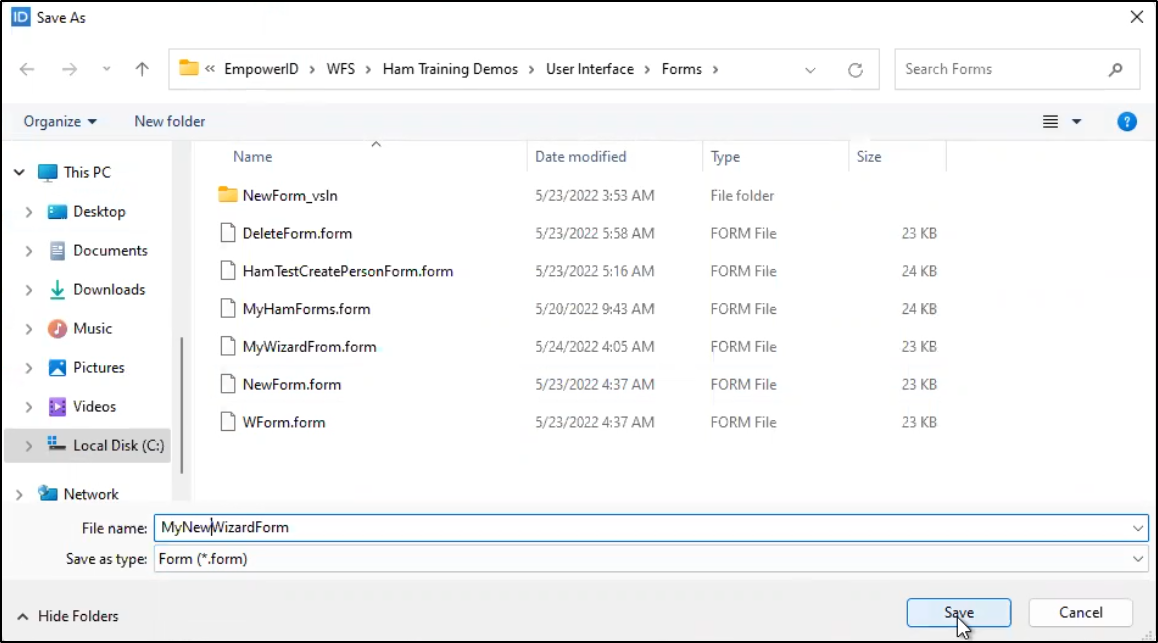
-
After the form is saved, you will see the form loaded in the designer with the name you provided.
-
Click on Compile and publish button, to publish the workflow. You can find more information about deploying here in Build and Deploy.

Create a Workflow
-
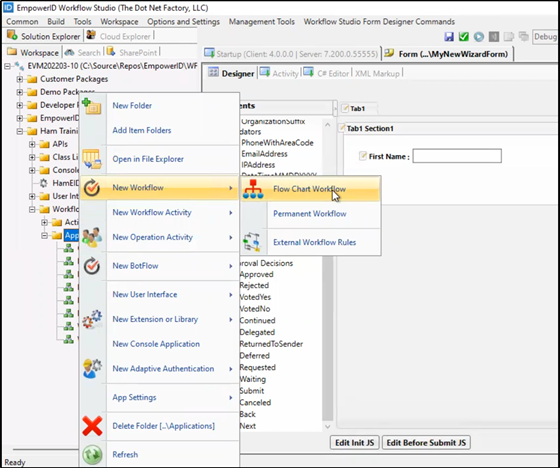
In the Workspace tree of Solution Explorer, Navigate to the Package node and select Workflows → Applications → New Workflow → Flow Chart Workflow from the context menu.
-
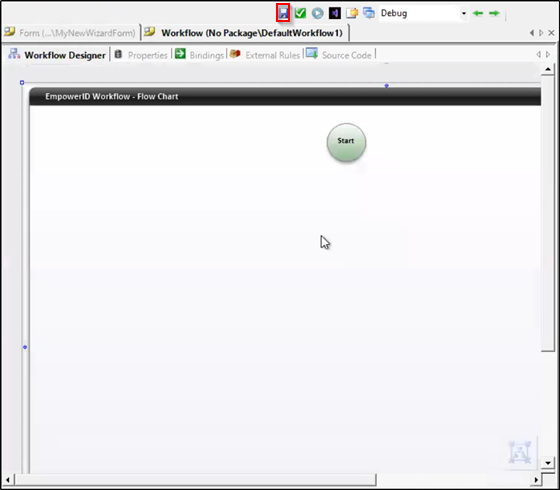
The workflow will load with default shapes. Click on the Save icon to save it with a meaningful name.
-
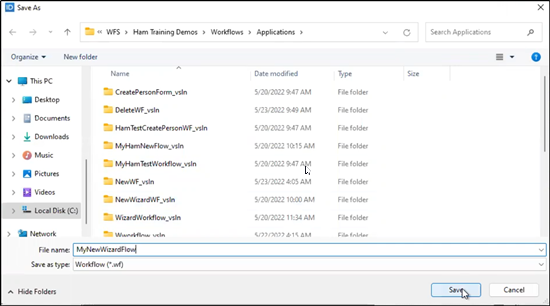
Select the file path. Provide a name (MyNewWizardForm) and click on Save.
-
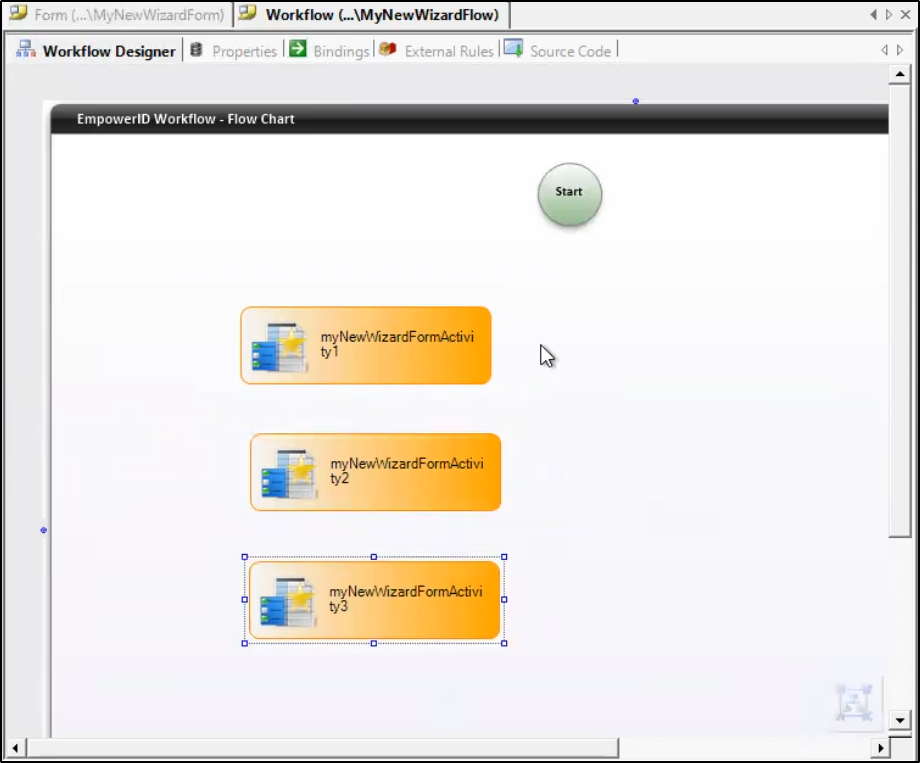
Drag and drop the form we created earlier into the workflow. Expand the User Interface → Forms and select the form created earlier into the workflow.
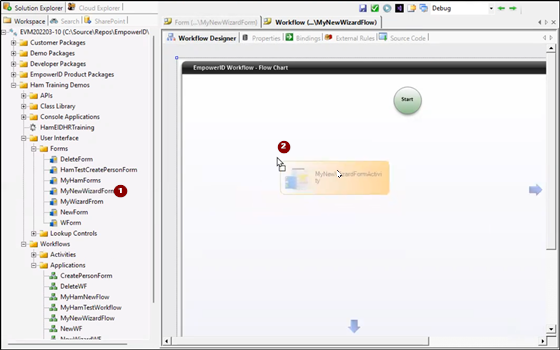
-
Repeat the above step two more times. For simplicity of the tutorial, we will use the same form three times in the wizard workflow.
-
Connect the shapes with lines; the lines must be connected from the Start to the End shape.
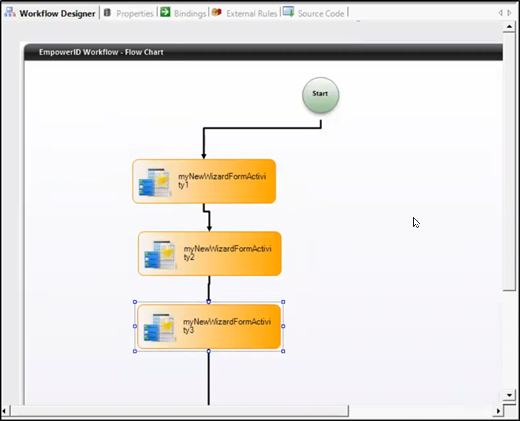
-
Select the first form added to the workflow. Open the Properties window and create a new Event Handler. Please provide an event name in the BeforeExecute events and double-click on it to open the code view.
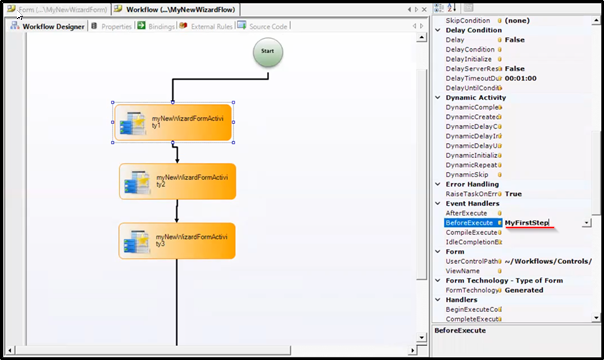
-
Paste the code in the event handler created in the earlier step. You can modify the code based on your requirements.
        CurrentWorkflow.UiSteps = new WorkflowUISteps();

        var step1 = new UIStep();
        step1.Name = this.CurrentWorkflow.myNewWizardFormActivity1.QualifiedName;
        step1.FriendlyName = "My First Step";
        step1.Description =  "My First Step";

        var step2 = new UIStep();
        step2.Name = this.CurrentWorkflow.myNewWizardFormActivity2.QualifiedName;
        step2.FriendlyName = "My Second Step";
        step2.Description =  "My Second Step";
        var step3 = new UIStep();

        step3.Name = this.CurrentWorkflow.myNewWizardFormActivity3.QualifiedName;
        step3.FriendlyName = "My Third Step";
        step3.Description =  "My Third Step";

        CurrentWorkflow.UiSteps.Steps.Add(step1);
        CurrentWorkflow.UiSteps.Steps.Add(step2);
        CurrentWorkflow.UiSteps.Steps.Add(step3);

        CurrentWorkflow.UiSteps.CurrentStep = CurrentWorkflow.UiSteps.Steps[0];
- Select the second form. Open the properties window and paste the following code into the BeforeExecute event handler.
CurrentWorkflow.UiSteps.CurrentStep = CurrentWorkflow.UiSteps.Steps[1];
- Similarly, select the third form and paste the following code into the BeforeExecute event.
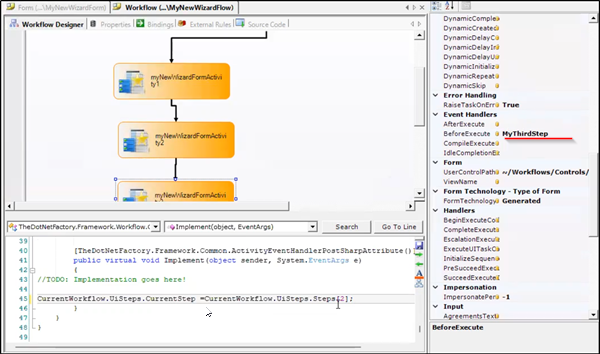
CurrentWorkflow.UiSteps.CurrentStep = CurrentWorkflow.UiSteps.Steps[2];
- Click on Compile and publish button, to publish the workflow. Complete the publish wizard; you can find more information about deploying here in Build and Deploy.
Publish the Workflow
Once the workflow and forms are compiled and published, the published file items should be deployed into EmpowerID. All details about publishing the items are available on Publish Workflow Studio Items to EmpowerID Environment.
Please make sure that the “.pub” file for both form and workflow is published.

Test the Workflow
-
Login into the EmpowerID.
-
Navigate to Object Administration → Workflows, and search the workflow published in the previous step.
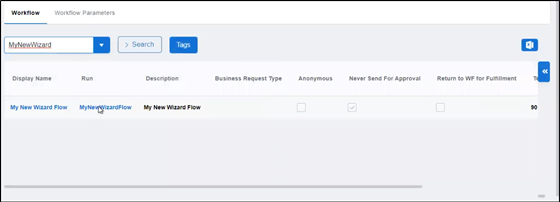
-
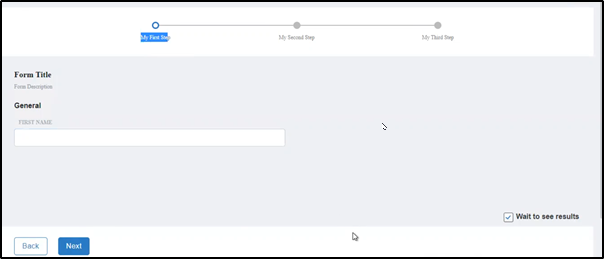
Click on the name of the workflow to execute it. The UI of the workflow will appear on the screen.
IIS reset must be done after publishing the workflow, and the workflow might not appear in the listing above without the IIS reset.