Page Designer Lab
Objective
Create a Page/Report to show Groups.
Show the Organizational Zone tree and filter Group based on the selected location.
Credentials
- User ID: Test
- Password: P$%%drf
Steps
-
Start the 20331B-NYC-DC-05 virtual machine. Wait for the virtual machine to display the Desktop.
-
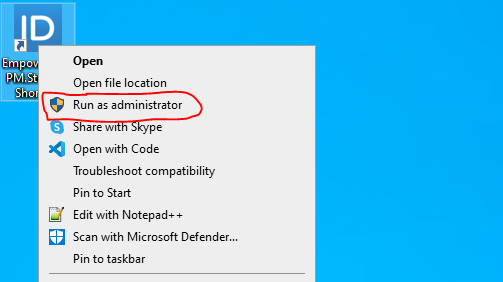
On your Desktop, Right-click Workflow Studio (WFS), and then click Run as administrator.
-
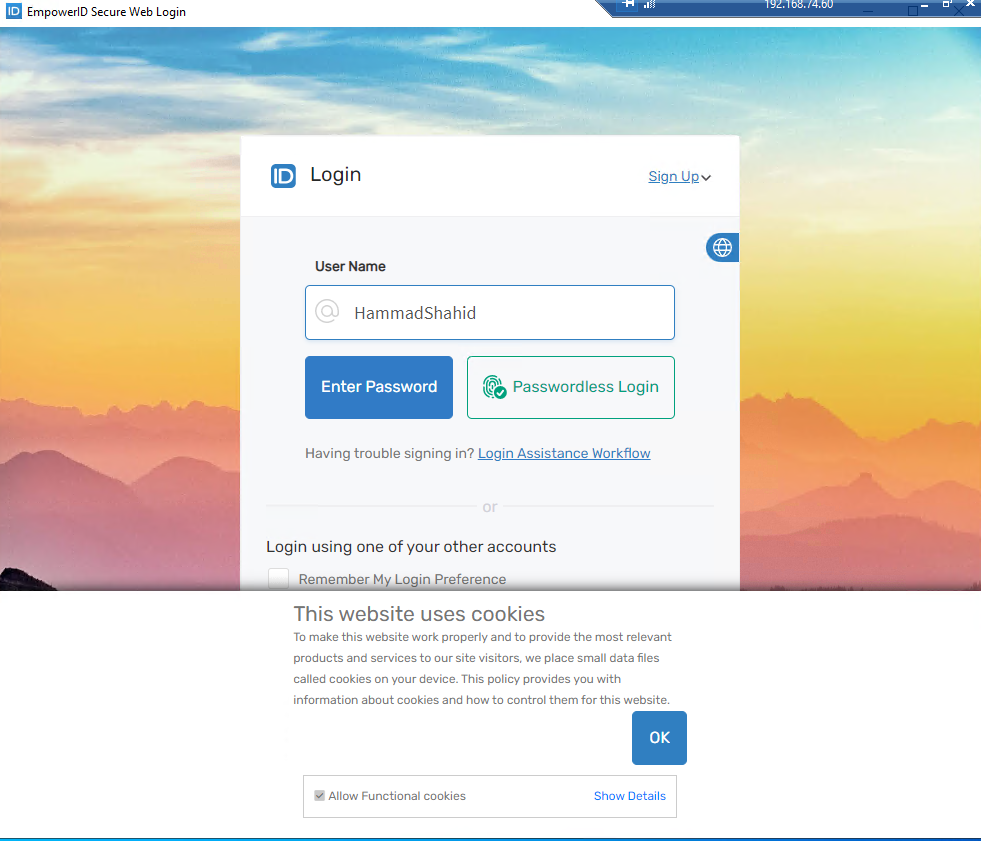
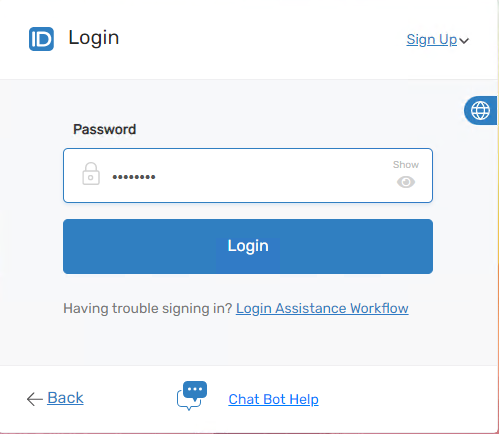
Wait for WFS to start and enter your credentials.
-
In Solution Explorer, right-click on the Developer Packages folder, create a new folder called DemoLabs, and click the Ok button.

-
Add New Folder dialog box will appear; select the following options:
- User Interface > Lookup Control
- User Interface > Forms
- User Interface > UI Pages
- Workflows > Applications
Then click the Ok button.

-
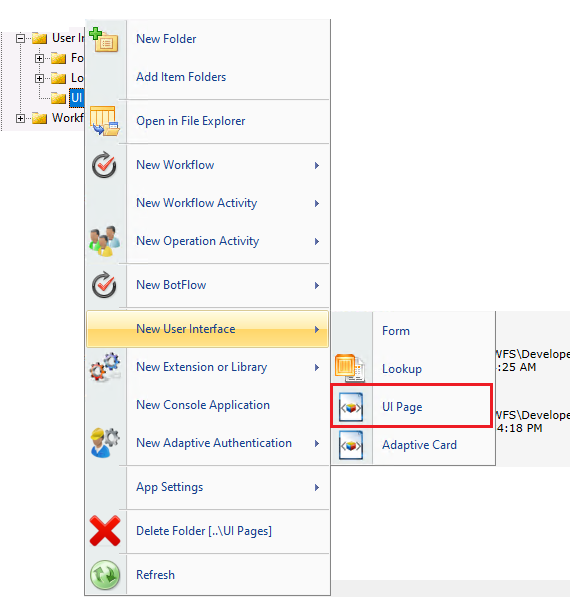
Expand the Developer Packages folder, find the DemoLabs folder, expand it. Under the DemoLabs folder, expand the User Interface folder, right-click on the UI Pages folder, hover over the New User Interface option, and click UI Page.
-
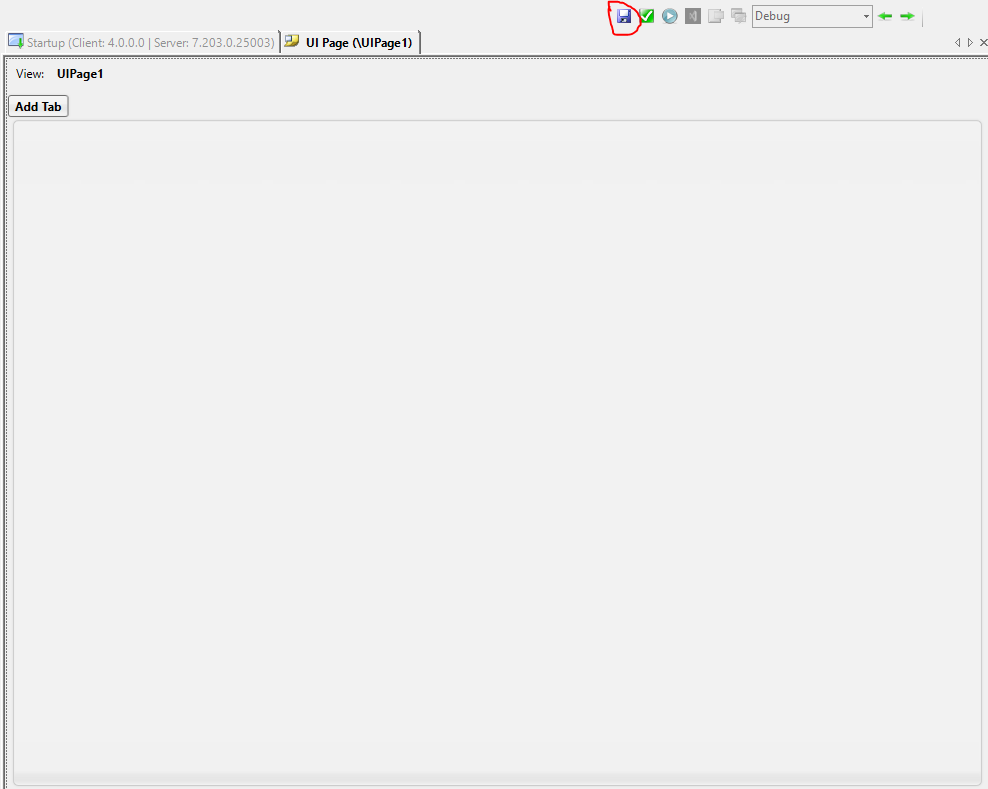
Wait for the Page Designer to be loaded.
-
Click on the Save button to save your Page and give it the name Page_ShowGroups.
-
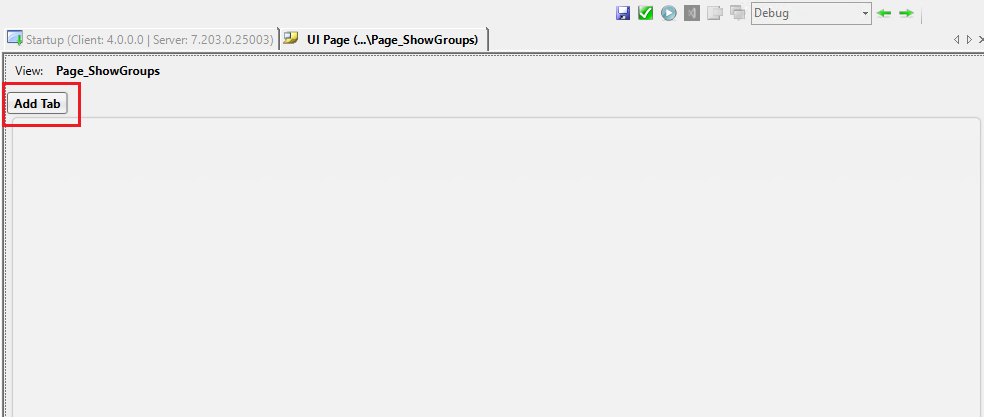
To start creating the page, first, click on the Add Tab button.
-
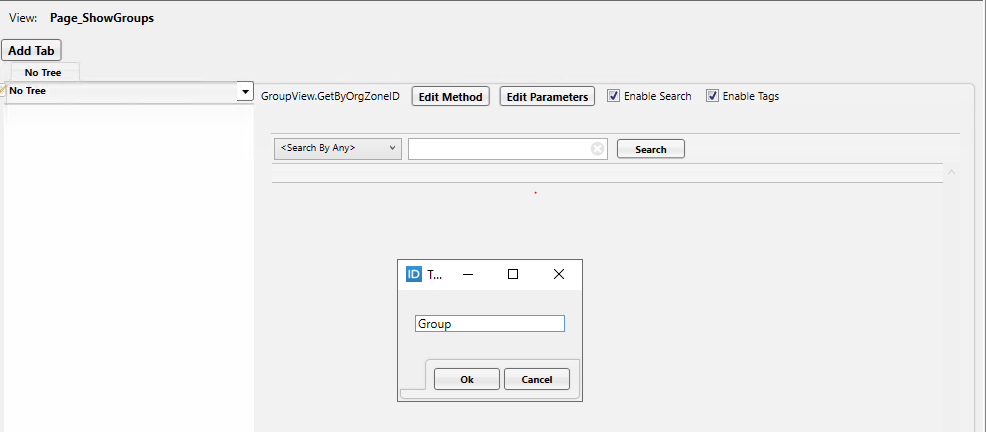
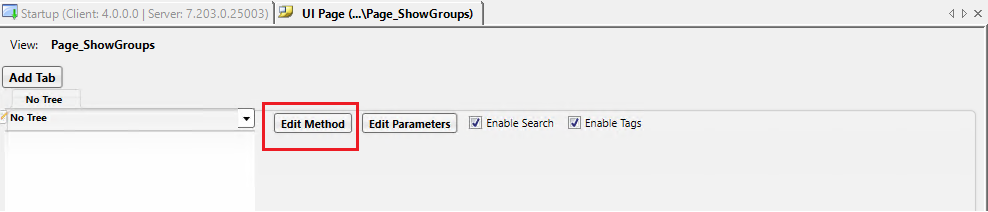
Right-click on the No Tree tab, click on Edit Name, type Group, and click the OK button.
-
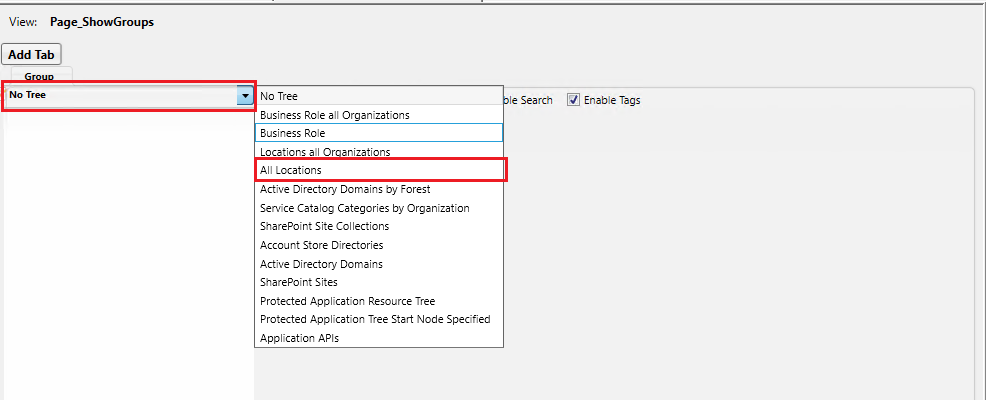
Click on the No Tree dropdown and select the All Locations option.
-
Click on the Edit Method button.
-
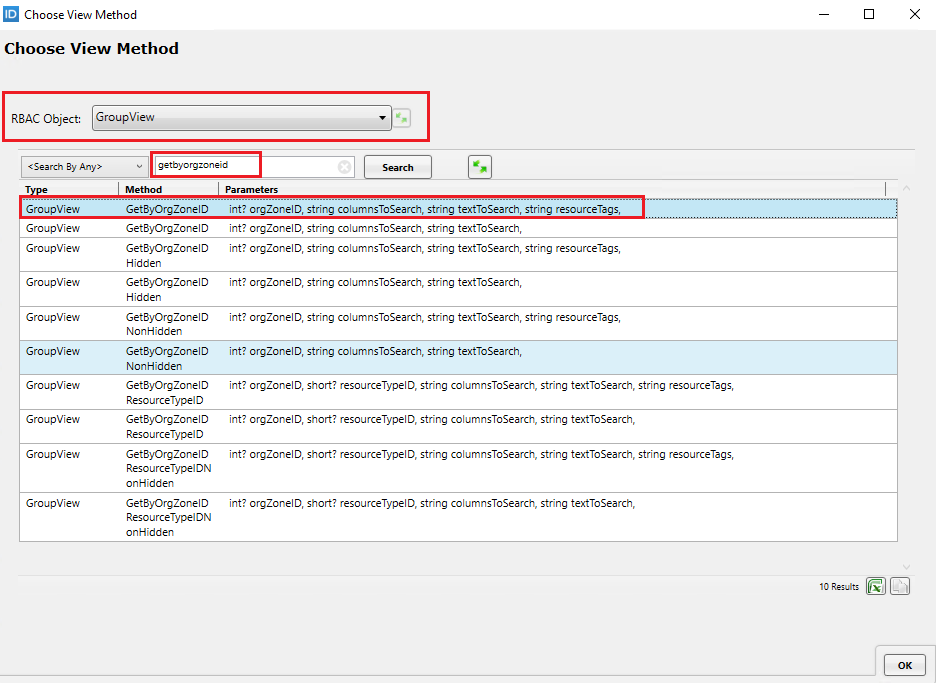
The Choose View Method dialog box will appear. In the RBAC Object dropdown, select GroupView. Now in the search box below, type getbyorgzoneid and select the GetByOrgZoneID method with four parameters.
-
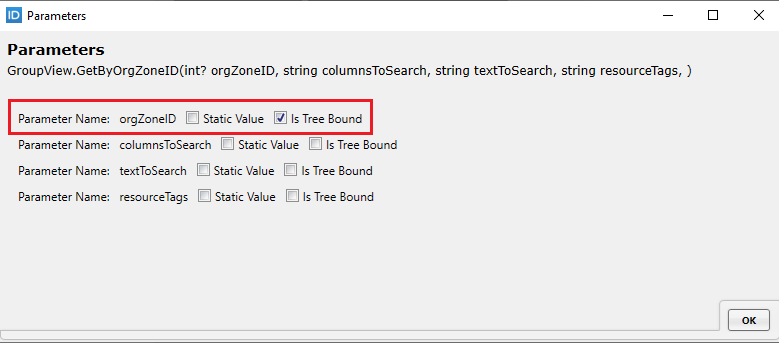
Click on the Edit Parameters button. The Parameters dialog box will appear. In the orgZoneID parameter name, checkmark the Is Tree Bound checkbox and click the OK button.
-
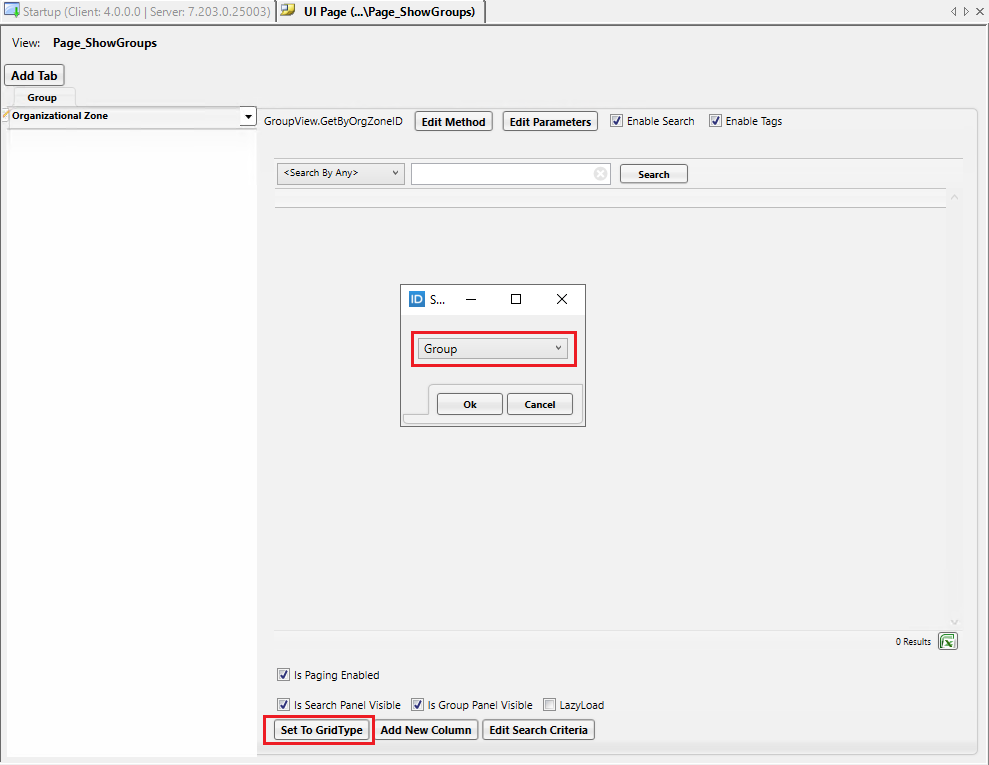
Click on the Set To GridType button, select the Group option from the dropdown, and click OK.
-
Click on the Publish button to publish your Page. The publishing dialog box will appear, click on the Next button twice to publish the Page.
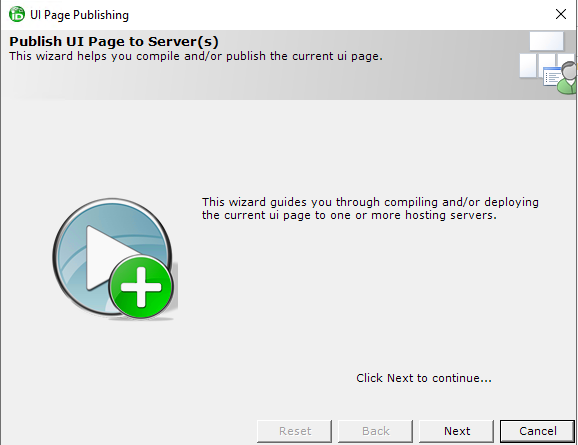
-
Once published successfully, click on the OK button.

-
Open Internet Explorer, Edge, or any installed browser and go to this URL: EmpowerID Login.
-
Enter your credentials provided by your lab instructor.
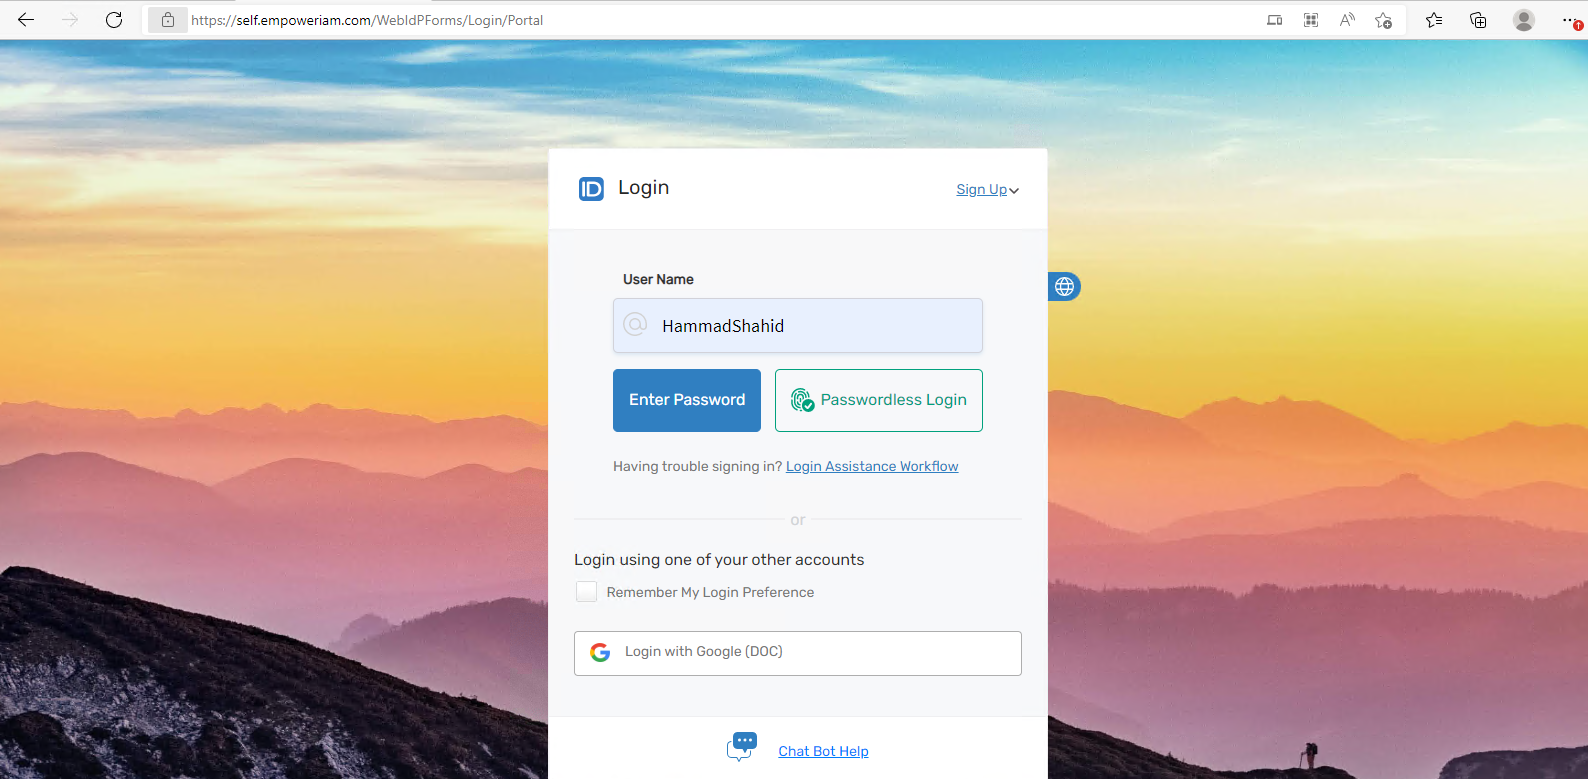
-
Once logged in, go to the EmpowerID dashboard. On the left-hand side, click on Low Code/No Code Workflows, and underneath it, click on Low Code Workflows.
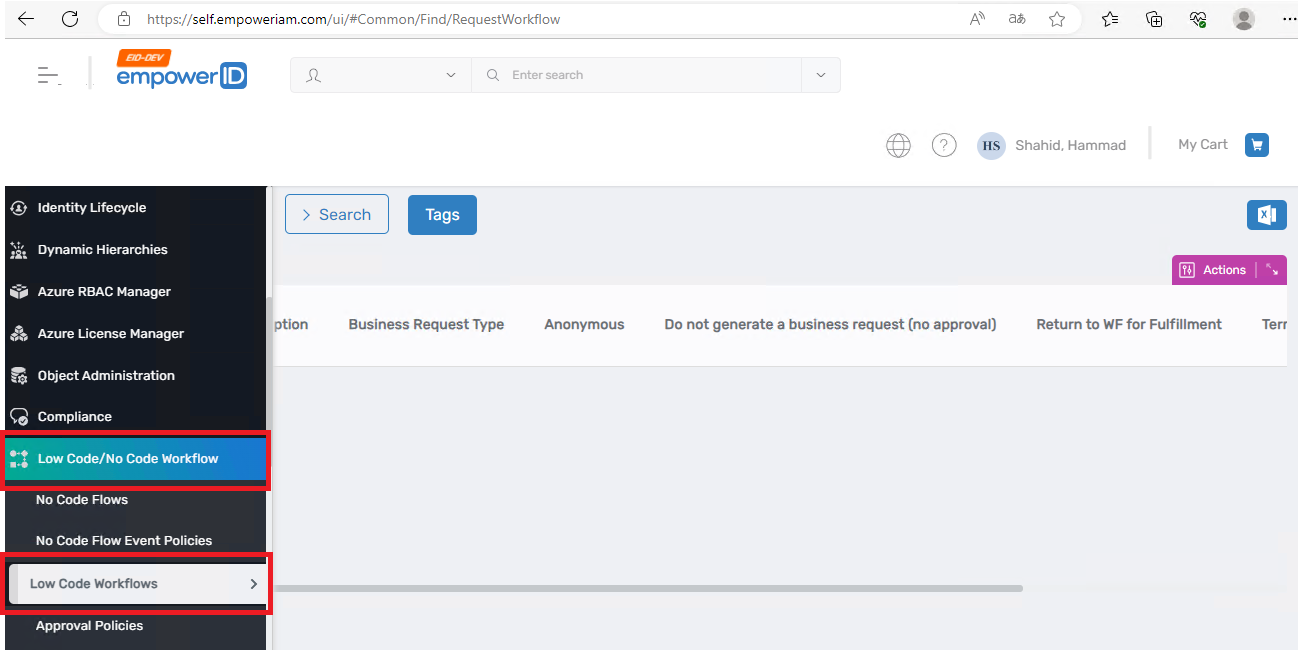
-
This will take you to the RequestWorkflow page. On the right-hand side of your page, in the Actions Pane, click on Publish Workflow Studio Item.
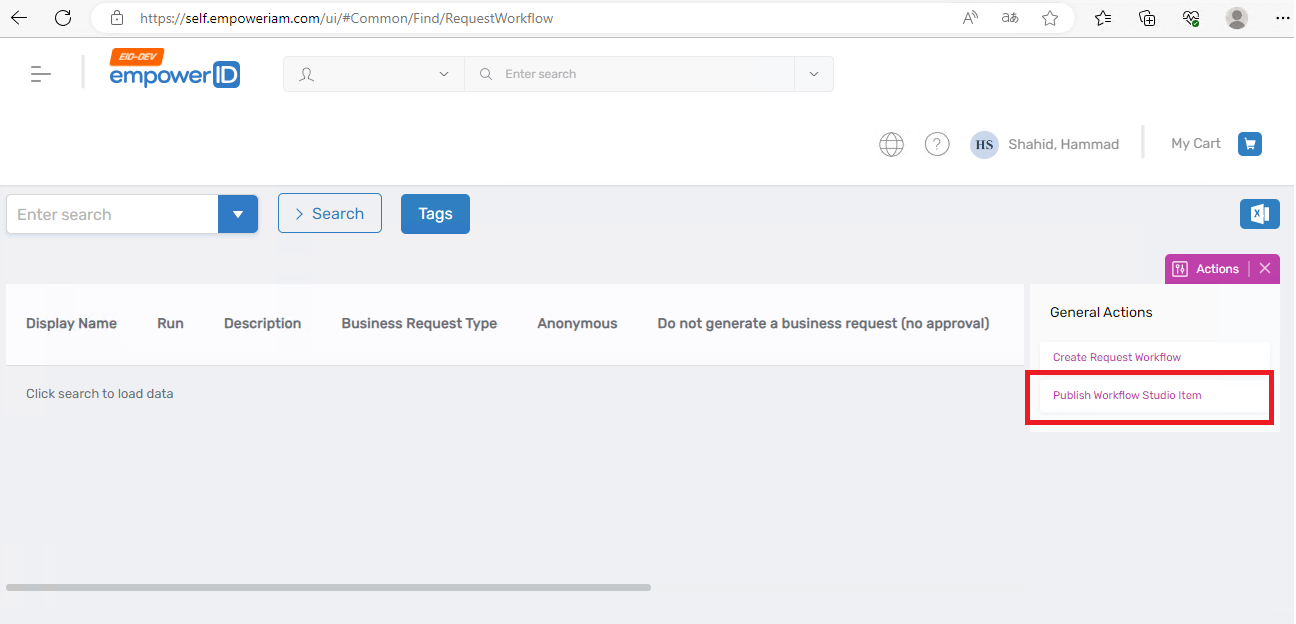
-
On the PublishWorkflowStudioItem page, click on Choose File, select the .pub file for Page_ShowGroups, and then click Open. Once the file is selected, click Submit.
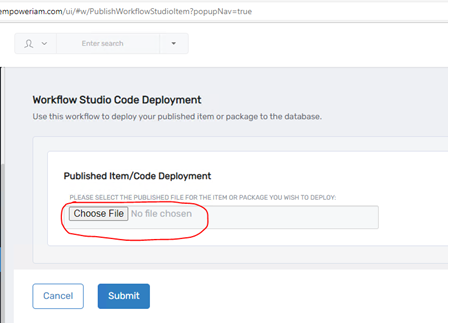
-
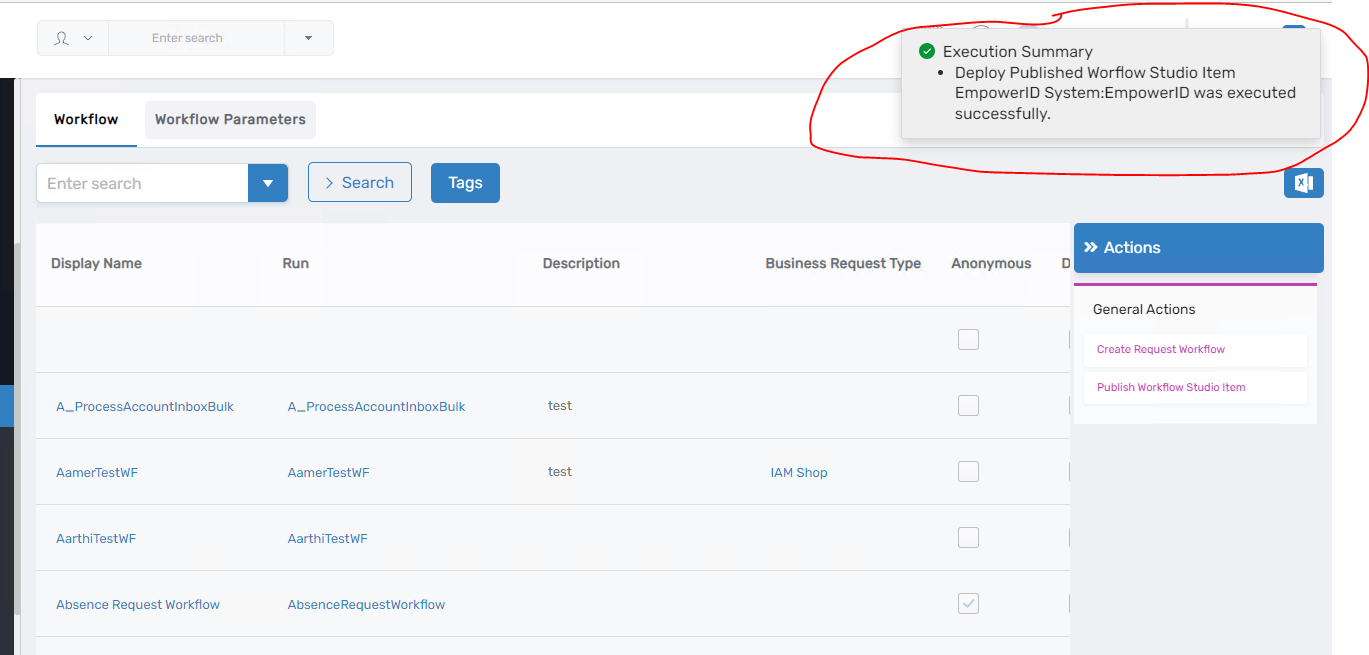
You will receive a message indicating that deployment was successful.
-
To run your page, use the following URL:
https://%YOURSERVERNAME%/ui/#Common/pages/view/[PageID]
-
To find the page ID, query the EmpowerID database using:
SELECT * FROM RBACView
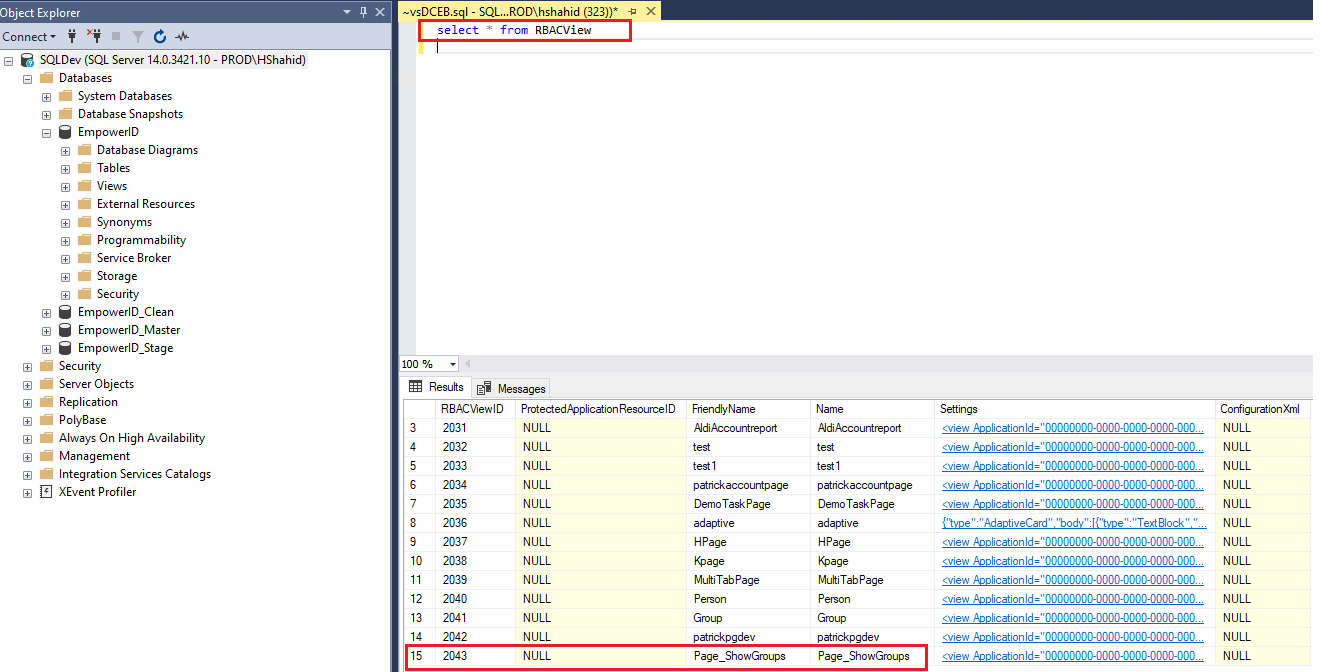
This will return a list of pages. Locate the page you created, copy the ID, and insert it into the URL.
-
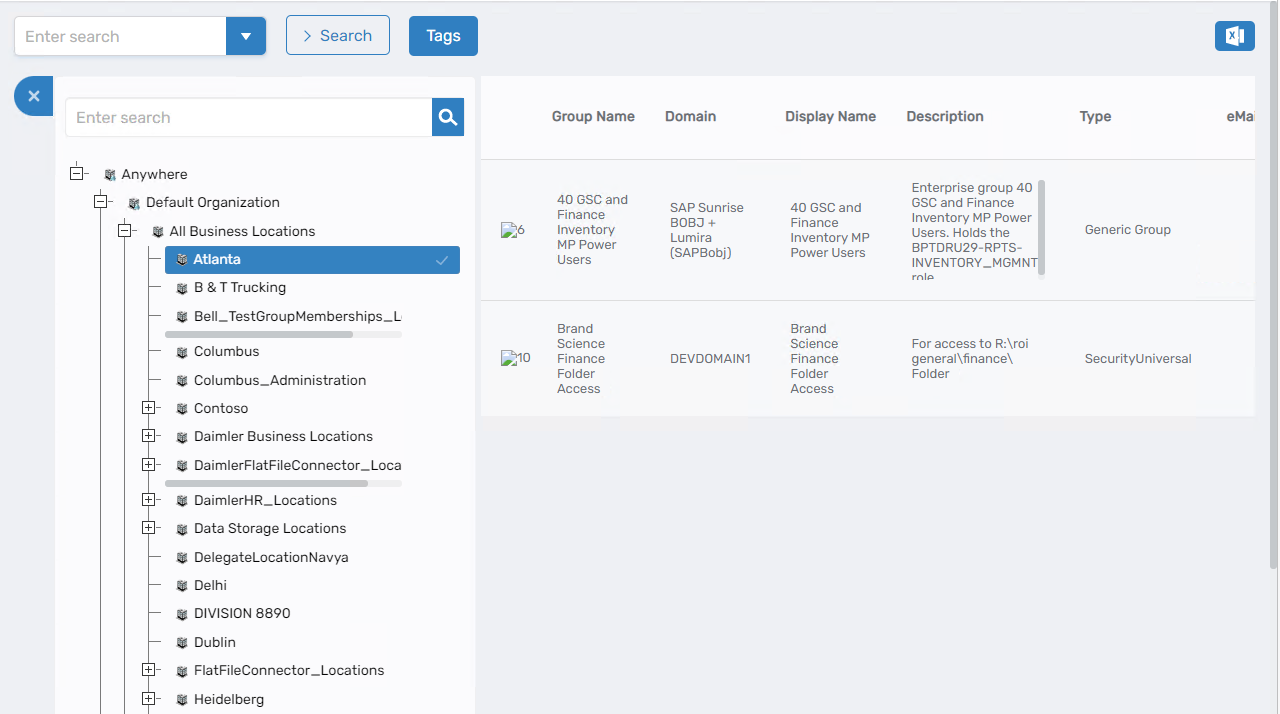
Open the URL in a browser. From the Side Tree Panel, select Atlanta, and it should display the related Groups.
-
End.